Generating a Base Character
The first step to achieve for our technique to work is generate a base character we like, in an appropriate format.
I will call this the “Reference Sheets”.
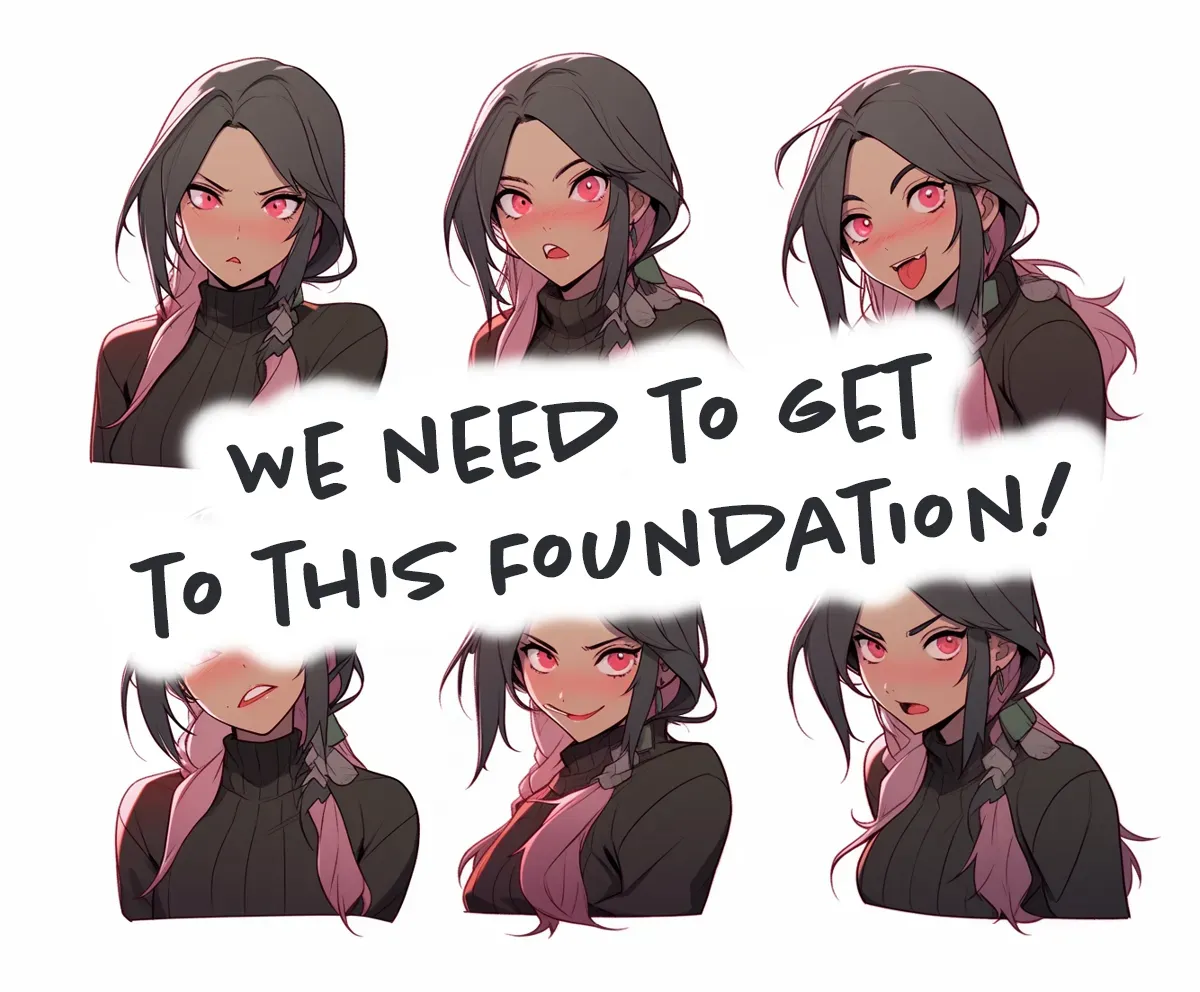
We’re eventually aiming for a Character Expression sheet that looks something like this in format (below). We want a 3x2 grid with some space, ideally, but to get there can be a little tricky. So I will work through the easiest repeatable steps I’ve found to get there, just read on…

Why this Expression Sheet?
This character sheet example above is going to be the launch-point for us to start changing the expression, style, and pose of our character.
The whole foundation of our technique is using this character sheet to enable Midjourney to reference a range of character traits from within the same image, so we need to get to this point before we can start the process!
Through a lot of trials I’ve found that the most optimal layout is a 3x2 grid, with a little space around the edges. I will explain why this is the case later and demonstrate how to get there from an imperfect beginning.
If you already have generated a character sheet that looks similar to this, then you can skip forward to Step 4: Changing the Expressions.
Starting Off Fresh
So, imagining that we are starting a completely new character; let’s find a persona and style that we like. I will share a prompt and the outcome, and explain why the prompt is written in such a particular way, this should teach you how to write your own prompts to get the best results.
Reference Sheet(s)
We want to start by creating some reference sheets for our character. This is so we can reference the character’s traits when we are generating the expression sheet. This is simply a kind-of mood-board of what we want our character to look like.
Generally I will create two or three reference sheets, prefering ones that are close to my character vision, but also ones that have a little variety in the poses/expressions.
Save your final References, we'll nee them later!
Later on, when we’re going large complicated changes to our character, we will need to reference these images again to help Midjourney remember what our character is based on. So make sure you save them somewhere safe!
The first prompt:
/imagine prompt: [character-defining-traits],
[secondary-traits-or-clothing],
in the style of [anime-style],
isolated on a grey background,
different expressions
--niji--stylize [stylize-power]--ar 4:5
I’ve placed square brackets ([]) around the parts of the prompt that you will need to change for your own character.
Muscle Guy
So in this first prompt, I wanted to generate a character which was a kind of muscular hitman-character.
/imagine prompt: muscular man with blue eyes, olive skin, bald head with tattoo, stubble, wearing a white
muscle shirt, in the style of Full metal alchemist anime, isolated on a grey background,
different expressions --stylize 40 --niji --ar 4:5
Breakdown
-
"muscular man with blue eyes, olive skin, bald head with tattoo"
I start off by defining the most prominent features I want. In this case it’s the muscular body, blue eyes and a bald head. -
"stubble, wearing a white muscle shirt"
Then I go on to define the secondary traits, which are the stubble and the white muscle shirt. It’s best at this stage to only define clothing on the upper body, as we do not want Midjourney to generate legs or feet.However if you’re trying to create a chibi, or an animal, you may want to define the lower body too.
-
"in the style of Full metal alchemist anime"
My original vision was for a kind of Alex Loius Armstrong character from Full Metal Alchemist. It didn’t actually turn out this way but that’s fine for this tutorial.You would spend a lot more time on this stage to nail down your character preference.
-
"isolated on a grey background"
This is to make sure the character was isolated from the background. The color grey was chosen for a couple of reasons. See below. -
"different expressions"
Then I added to make sure the character had a range of expressions.
This is important. See below. -
"--niji --stylize 40"
The final parts of the prompt are depending how you want your character to look. This tutorial is for Niji specifically, but I’ve heard it works with the v5 models. Usingnijitells Midjourney to use the Anime Model. -
"--ar 4:5"
And finally we tell Midjourney to generate the image in a 4:5 aspect ratio.
This is important. See below.
Reasoning
Some quick-fire Q/A’s before we continue, to explain the reasoning behind the prompt and help you understand how to write your own prompts:
Why Grey Background?
So, firstly, "isolated on a _____ background" is the key to making sure
our character is not mixed up in some chaotic background. We don’t want Midjourney
to be thinking that the random Juniper Bush or Daisy in the background is part of our character.
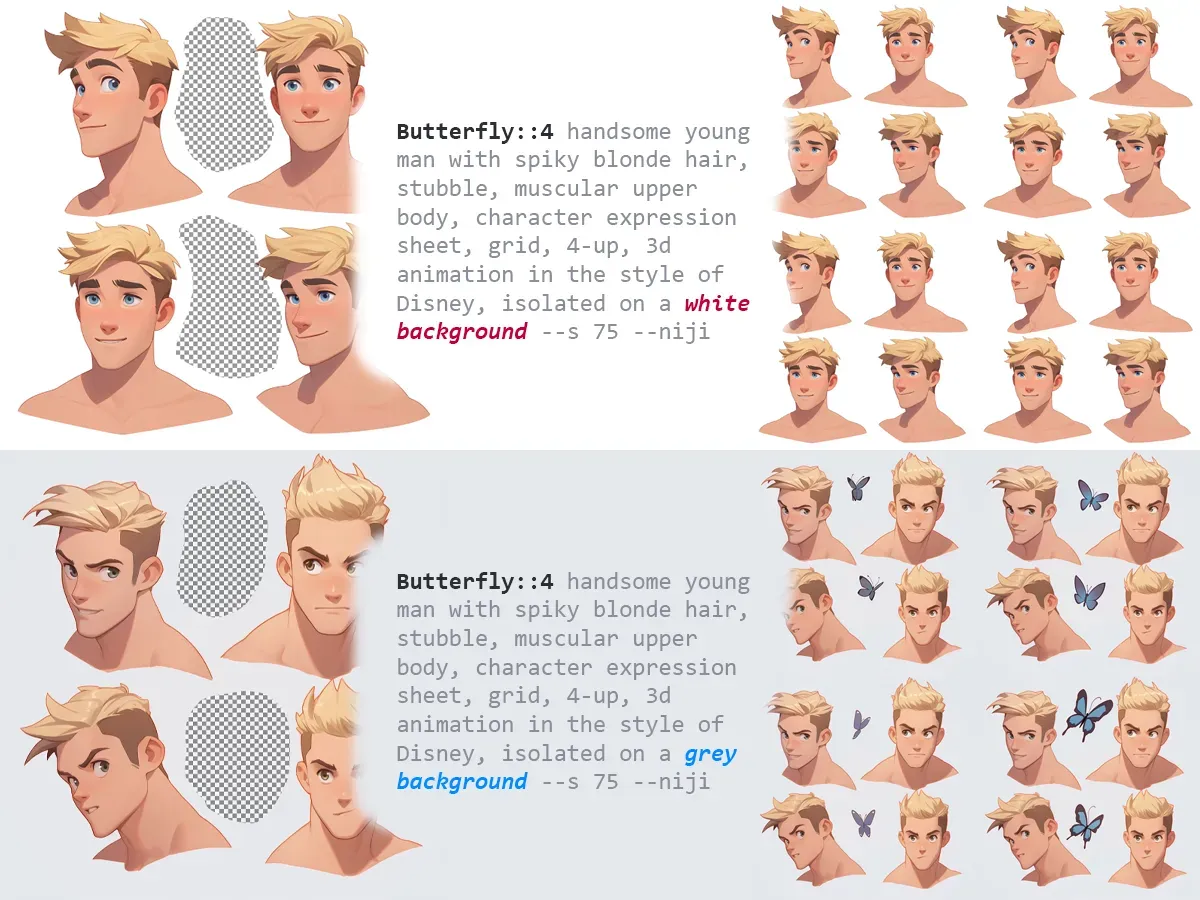
Secondly, why grey? Why not white or black or purple? Well, the reason is two-fold.
Later on, we will be wanting to add detail or effects or accessories around our character. We also may want limbs to move around. To make these changes Midjourney needs something to add noise to, so that it can re-generate a new sample. This is why we are adding a mid-tone color.
Using a white/black background essentially “clips” the pixel values at the extreme ends of the brightness (either 0, or 255) spectrum. So Midjourney cannot really add detail to these areas. Or atleast not much.
Using a mid-tone color like grey, allows Midjourney to add detail in the image. And grey doesn’t really affect the color of the character, so it’s a good choice over something like Purple/Orange, for example.

Different Expressions pour quoi?
One thing I’ve found — and this relates back to the introduction where I mentioned that Midjourney will try to reference whatever it finds in the image prompt — is that if the character sheet is predominantly the exact same pose and expression, then it will simply try to generate the same pose and expression again. Even with a really heavy weighting on the prompt.
So by adding "different expressions" to the prompt, we are telling Midjourney to generate a range of expressions, and
it will help us to make changes and variations later.
It’s also possible to use "different poses" instead of expressions, if we are more interested in extreme changes
in the character’s position. eg; for a highly animated character, or an animal.
Is --ar 4:5 really necessary?
Yes.
Well, kind-of.
So when generating humans — or anthropomorphic characters — for our reference sheet we generally want to have
a bust-portrait or profile shot of that character. In general; Midjourney prefers to create portraits of characters
in a portrait aspect-ratio. 4:5 is the one I found works best for me. But you can experiment if you like.
Muscle Guy Reference images
So actually I quite liked the grid that Midjourney created for me first-time. This is kind of rare, and I will normally have to generate a lot. But let’s analyse the two images I wanted to use as a reference;
Objective
- ✅ Both images have a mid-tone grey background!
- ✅ Both images have a range of expressions!
- 🔶 There’s only really frowns, pouts and snarls. But it should be OK.
- ✅ There are multiple orientations allowing us to see different sides of the character’s head!
- ✅ The eyes are all open!
- ❓ if all eyes are closed, it’ll be hard to open them later.
- ✅ There are multiple copies of the same character in a single reference image.
- ❓ This will help Midjourney in the next stage to organise in a grid layout, but it’s not necessary.
Subjective
- ✅ The character is muscular!
- ✅ The character is bald!
- ✅ The character has stubble!
- ✅ The character is wearing a white muscle shirt!
- 🔶 The character has blue-ish eyes!
- 🔴 The character doesn’t have olive skin. But I don’t mind.
- 🔶 The style is not really Full Metal Alchemist. But actually I like this clean line style, and it’s still mature looking.
So now we have our reference images, we can move on to the next step; Step 2: Generating the Expression Sheet.
Note;
Take your time with your reference images, and make sure you’re happy with them before moving on. It’s almost impossible to ‘fix’ anything after we generate the expression sheet. We can keep creating variations, but it’s best to get the reference images right first. Especially the grey background. and multiple poses.
I will post a few more reference images for different characters below, so you can see how I’ve used the same technique to generate different characters.
Other Examples
Gaya the Witch
I tried out the same technique for gathering a reference sheet for a witch character. I wanted to create a kind of Indian origin villain, with a saree and a head scarf. I also wanted her to have a menacing look.
I chose to use the style of xxxHolic Anime, as it’s an anime with supernatural themes, and I thought it would be a good fit. It was also a chance to try a somewhat different, and more detailed, style for the technique. As up till now I’ve only done Chibi and basic anime styles which are simple.
The very first prompt I generated was almost perfect! So I took the bottom-left generation as my first reference.
Then I used on the same image to get a few more variations of this character.
At this point I was quite pleased with the third image in the grid again , so I used that as my second reference.
See the image above to for the two reference images I picked.
/imagine prompt: Indian woman with hazel eyes, dark tanned skin, traditional
  head scarf, wearing a saree, in the style of xxxholic anime, isolated on a
  grey background, different expressions --s 140 --niji --ar 4:5
April with Braids
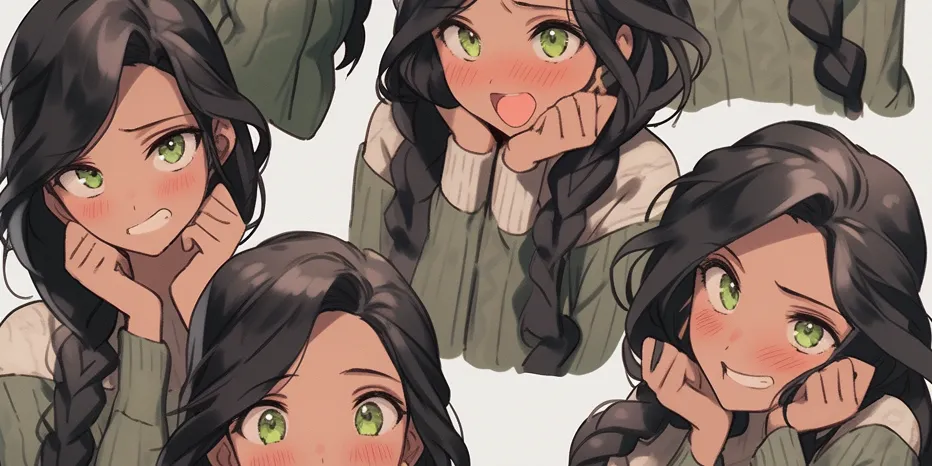
I wanted to push the limits of Midjourney and my technique, so I came up with a character which would have some very unique and difficult traits to generate. I wanted to create a character with chunky braids in her hair, and a gradient hair color.
My actual prompt asked for purple gradient hair, and although one of the grid images has a gradient, it didn’t blow me away,
and I though the expressions and style of the two dark-hair braids were better.
If I can keep this style into the next step, this will be a very good test for the consistency of Midjourney.
I ended up taking the first grid that Midjourney presented (this is just luck, it’s not always so easy) and selecting and
Notes;
I chose the anime “Don’t toy with me Miss Nagatoro”, as it’s a very expressive and fun Anime style.
isn’t perfect, as the arrangement is a little non-grid-like. There’s a bunch of overlap. But because I will combine it with and a text prompt, I think it should be ok. — It also plays into our pockets a little as the image has more references in it, so Midjourney should keep even closer to this image in the next step.
See the image above to for the two reference images I picked.
/imagine prompt: woman with bright green eyes, dark tanned skin, long purple gradient hair,
  chunky braid hairstyle , wearing a grey sweater, in the style of miss nagatoro anime,
  isolated on a grey background, different expressions --s 140 --niji --ar 4:5
Butter Otter
For a test of something I haven’t actually tried yet, I wanted to see if we can generate an otter character and have it be consistent and placed into scenarios just like a human character!
I generated this cute Otter in the Chibi style. I gave it a little hat, too, so that when we are making changes with the technique later, we will be able to see where the technique breaks down (if it does). As it would be fairly easy to pass off “any old otter” as a consistent character. But not Butter Otter!
Notes;
Here you can see that some of the images in the grid were not usable. I marked them with a ❌. They are not usable because they are either too chaotic, not with multiple poses, or look a little too derpy.
I ended up choosing and as my reference images. I think they are the cutest and will be the easiest to create a grid from. They have a good grey background (which will be important when we start giving him shells, seaweed and balls to play with), and many poses!
The only downside is they are both in 3x3 grids. This might make generating a 3x2 grid a little tricky, but I think it will be OK.
See the image above to for the two reference images I picked.
/imagine prompt: a cute anthropomorphic otter character, chibi anime, big black eyes, wearing a hat,
  in the style of chibi realistic anime, isolated on a grey background, different expressions --s 40 --niji --ar 4:5